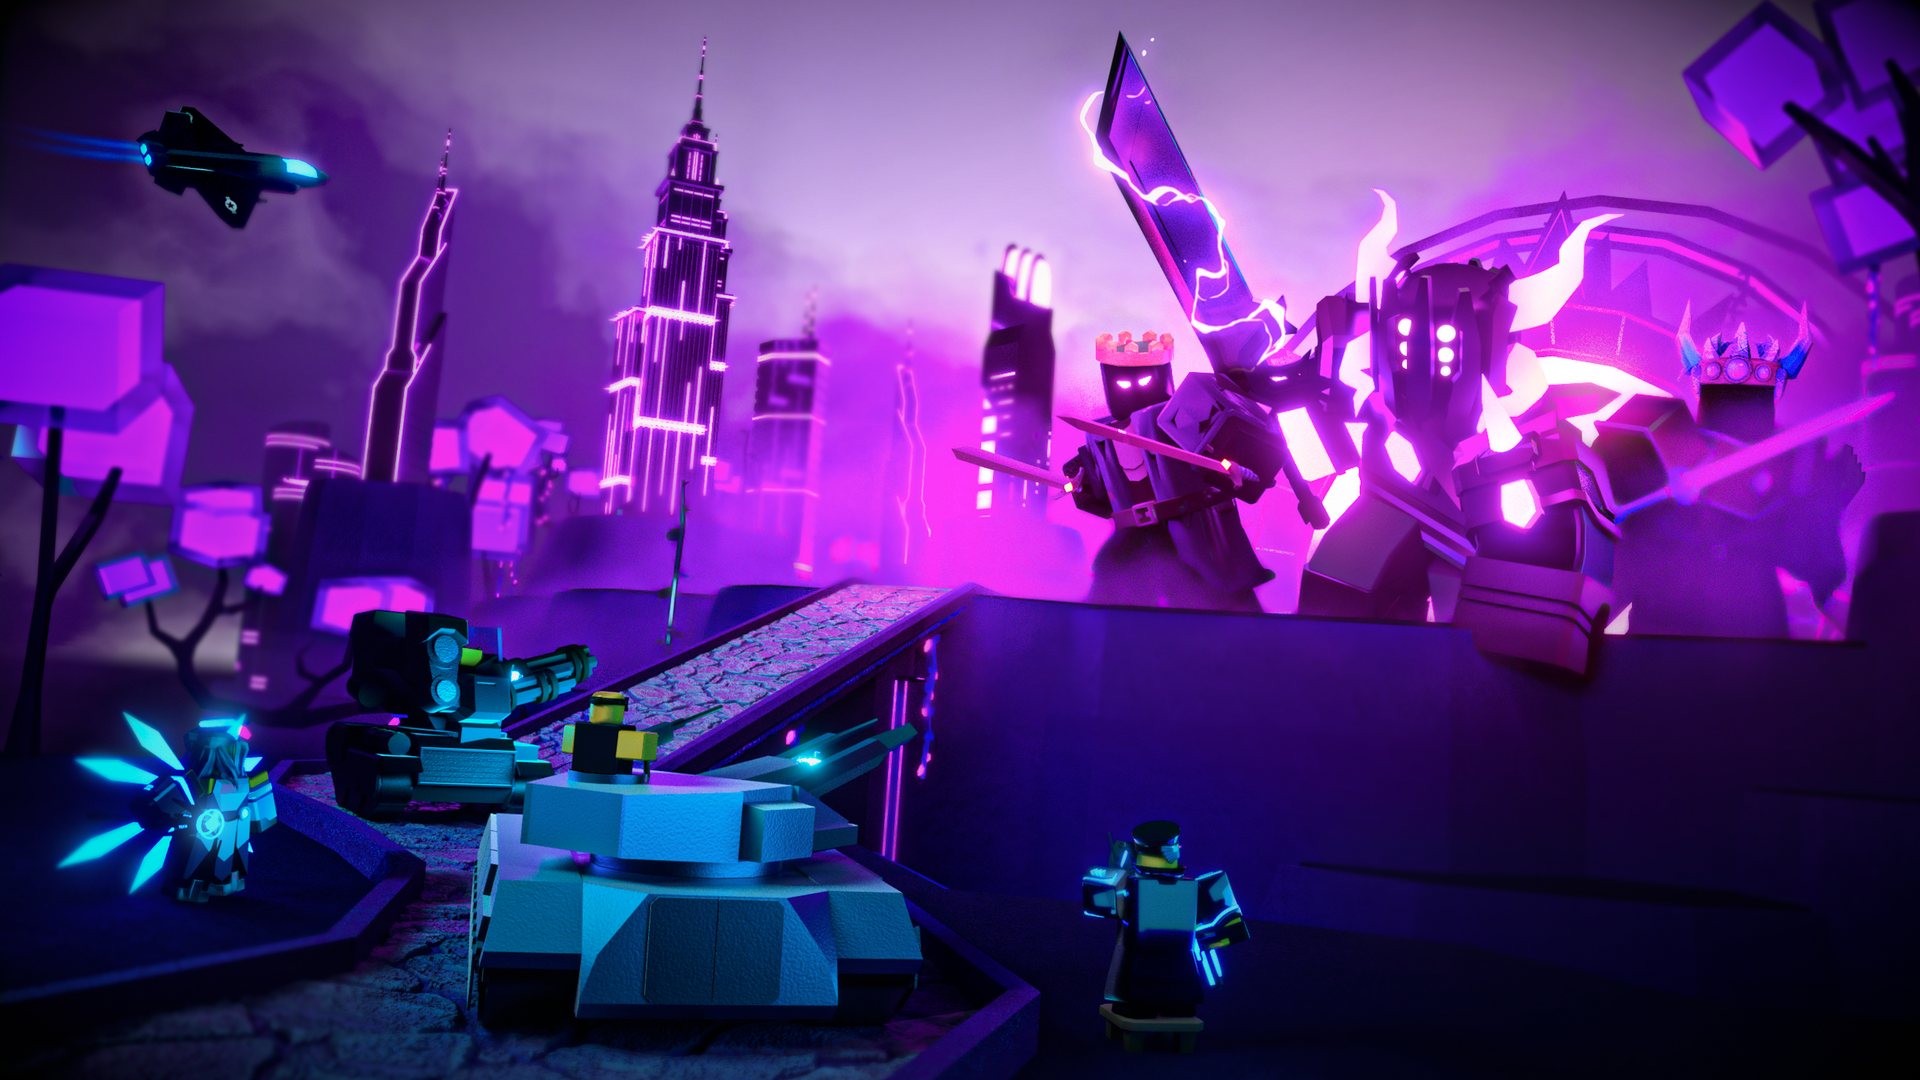
Tower Defense Simulator Polluted Wasteland 2 Guide: Beat Every Wave
Struggling with the Tower Defense Simulator Polluted Wasteland 2? Discover expert strategies, wave layouts, and loadout tips to conquer this challenging map.
Published:
Video Guide
Solo Polluted Wasteland 2 NO SPECIAL TOWERS TRIUMPH + FULL GUIDE - Tower Defense Simulator | TDSTable of Contents
Conquering the Tower Defense Simulator Polluted Wasteland 2 map is widely considered one of the ultimate tests for veteran players in the Roblox ecosystem. If you are aiming to push past the mid-game and secure victory in this hazardous environment, understanding the specific wave structure is absolutely essential for your survival.
The Tower Defense Simulator Polluted Wasteland 2 map stands out due to its relentless enemy waves and unique environmental modifiers that can quickly overwhelm unprepared defenses. In this guide, we will break down the essential tactics, loadout recommendations, and wave-by-wave progression you need to master this map and achieve success where others fail.
Preparing Your Loadout for Polluted Wasteland 2
Before you even step onto the battlefield, your success hinges on your tower selection. Unlike standard survival modes, this map demands a balance of early-game efficiency, splash damage for massive swarms, and high-DPS single-target units to handle the later boss waves.
Recommended Tower Archetypes
According to community reports, these specific roles are mandatory for an optimized setup:
Tower Role
Recommended Units
Why It Matters
Early Game
Operator / Biologist
Efficiently clears initial waves while saving for economy.
Splash Damage
Minigunner / Turret
Vital for dealing with the high volume of flesh-based enemies.
Support
Engineer / Field Medic
Provides necessary buffs and crucial healing for your front line.
Boss DPS
Accelerator / Juggernaut
Necessary for shredding high-health bosses like the Nuclear Guardian.
Maximize Your Economy
Always prioritize your economy early on. Without a stable income from high-level farming units or efficient early-game towers, you will not have the capital to deploy high-tier defense units by Wave 20, leading to a quick defeat.
Understanding the Wave Progression
The wave structure in this map is unforgiving. You aren't just facing standard enemies; you are facing a progression of increasingly complex threats that require specific detection and damage types.
Early and Mid-Wave Breakdown (Waves 1-20)
The first 20 waves are designed to test your spatial awareness and tower placement. You will encounter basic threats followed quickly by specialized units that require immediate attention.
Wave Range
Key Threats
Strategy
1-10
Wastewalker, Wasterunner, Super Mutant
Focus on single-target damage near the track entrance.
11-15
Toxic, Lurker, Fleshling
Use splash damage towers to prevent leaks during dense waves.
16-20
Splitter, Circuit, Mutagenic Blight
Prioritize hidden detection for units like the Lurker.
As noted by long-time players, the transition from wave 15 to 20 is where most casual runs fall apart. Ensure your Commander units are leveled up to provide the necessary firing rate boosts to your heavy hitters during these stages.
Tactical Maneuvers for Late-Game Bosses
The latter half of the map introduces bosses that can change the state of the board in seconds. The Nuclear Guardian and the Necromancer King are not to be taken lightly.
Boss Management Data
Boss Enemy
Unique Mechanics
Counter-Strategy
Nuclear Guardian
Bloated / Boss Tier
Requires concentrated fire from your highest DPS towers.
Necromancer King
Bloated / Summoning
Focus fire on the boss immediately; ignore minions if possible.
Abomination
Boss Tier
Requires consistent high-level damage to break through health regen.
Common mistakes include spreading your towers too thin. Instead, create "kill zones" at corners of the map where your towers can maximize their range and attack speed. If you are playing in a squad, coordinate your buffs—specifically damage and fire-rate buffs—so that they cover your main DPS towers simultaneously.
Community-Proven Strategies and Pitfalls
Through countless sessions, the community has identified several "game-breaking" habits that lead to a loss. Whether it's ignoring the "Mystery" enemies that morph upon defeat or failing to account for "Stun Immune" enemies, awareness is your greatest weapon.
Don't ignore the Commander dialogue: The game often warns you about upcoming waves. If the Commander mentions a "thick-skinned boss," stop placing cheap units and start upgrading your core DPS towers immediately.
Stun Management: Many late-game enemies, such as the Warden, have abilities that stun your towers. Always keep a secondary set of towers positioned further back to cover the track if your frontline gets stunned.
Adaptive Targeting: Use the targeting priority settings on your towers. Against waves containing "Circuit" or "Rusher" units, set your primary towers to "Strong" or "First" depending on whether you are leaking fast units or boss-tier threats.
Avoid Overcrowding
One common mistake is placing too many low-level towers. In the later waves, a few maxed-out towers are significantly more effective than twenty low-level ones that lack the necessary damage output to pierce enemy armor.
Frequently Asked Questions (FAQ)
Q: What is the best strategy to beat the Tower Defense Simulator Polluted Wasteland 2 on the first try?
A: Success requires a balanced team loadout featuring strong early-game towers for economy and high-DPS towers like the Accelerator for bosses. Coordination with teammates to share buff zones is also critical for survival.
Q: Why do my towers keep getting stunned during late waves?
A: Enemies like the Warden and certain bosses have stun abilities. The best way to mitigate this is to have overlapping defense zones so that if your front towers are stunned, your backline can still maintain damage output.
Q: Are there hidden waves in this map?
A: While the standard wave list is documented, the map is notorious for its density and unique enemy combinations. Always ensure you have dedicated hidden detection towers, as many enemies in this map possess stealth capabilities that can end your run silently.
Q: How do I handle the Necromancer King?
A: The Necromancer King is a major threat due to his summoning ability. Focus all your heavy-damage towers directly on him rather than the summoned units. If you let him stay on the map too long, the board will become too crowded to manage.